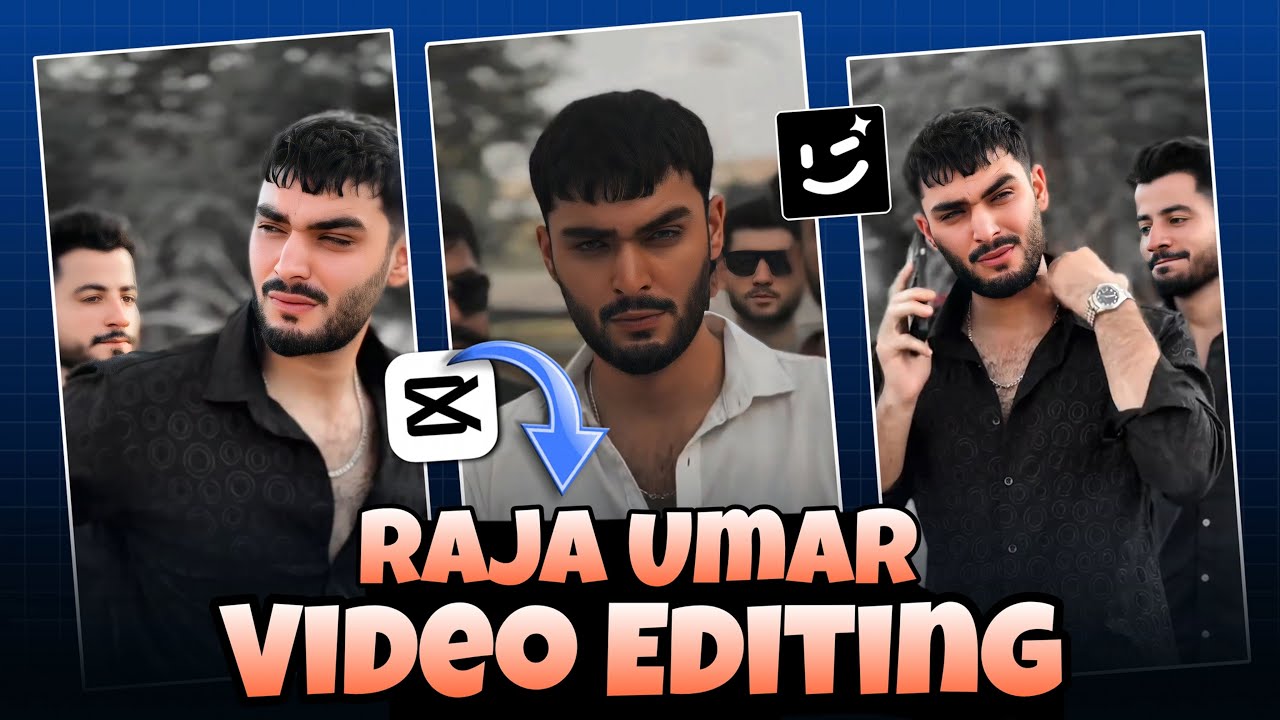
Mastering Video Editing Like Raja Umar: A Comprehensive Guide
In the age of digital content, video editing has become an essential skill for creators looking to stand out. Raja Umar is a notable figure in the video editing community, known for his engaging content and unique editing style. This blog post will explore Raja Umar’s approach to video editing, breaking down his techniques and offering a step-by-step guide for aspiring editors to achieve similar results.
Understanding Raja Umar’s Style
Raja Umar’s videos are characterized by several key elements:
1. Dynamic Storytelling
Raja’s content often tells a story, whether it’s a travel vlog or a tutorial. He engages viewers by creating a narrative that draws them in, often using personal anecdotes or relatable situations.
2. Creative Transitions
One of the standout features of Raja’s editing style is his use of dynamic transitions. He doesn’t just cut from one clip to another; instead, he employs creative transitions that enhance the storytelling. This could involve zooms, spins, or fade effects that make the viewing experience seamless.
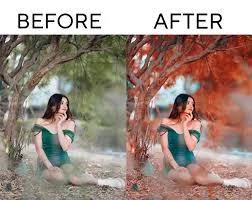
3. Vibrant Color Grading
Color grading plays a significant role in Raja’s videos. He utilizes a vibrant color palette that enhances the visual appeal and sets the tone for the content. The colors evoke emotions, helping to connect with the audience on a deeper level.
4. Engaging Text Overlays
Text overlays are used not only for context but also as a stylistic element. Raja employs stylish fonts, animations, and colors to keep the text visually appealing while conveying information effectively.
5. Attention to Audio
Raja’s videos also demonstrate a keen understanding of audio. He selects background music that complements the visuals and maintains a balanced audio mix, ensuring that dialogues, sound effects, and music work together harmoniously.
Getting Started with Video Editing
To begin editing like Raja Umar, you’ll need to follow a series of steps that cover everything from pre-production to final export.
Step 1: Pre-Production Planning
Conceptualization
Before diving into editing, it’s essential to conceptualize your video. Define the purpose of your content and outline the key messages you want to convey.
Storyboarding
Creating a storyboard can help visualize the flow of your video. Sketch out key scenes, transitions, and shots to ensure a coherent narrative.
Step 2: Gather Quality Footage
High-Resolution Clips
Invest in a good camera or smartphone to capture high-resolution footage. Good lighting and stabilization are crucial for professional-looking videos.
Collecting B-Roll
Gather supplementary footage (B-roll) that complements your primary content. This additional footage can enhance storytelling and make your video more dynamic.
Step 3: Importing Footage
Using the Ninja app, import your footage by:
- Creating a New Project: Open the app and start a new project.
- Importing Clips: Tap the “+” icon and select the clips you want to include. Organize them in a logical order.
Step 4: Basic Editing Techniques
Trimming Clips
Start by trimming your clips to remove any unnecessary sections. Focus on keeping the most engaging parts to maintain viewer interest.
Cutting for Flow
If a clip has multiple segments, cut out the less interesting parts. This helps maintain a fast-paced narrative, which is essential for keeping viewers engaged.
Step 5: Adding Dynamic Transitions
Raja’s videos are known for their seamless transitions. To add transitions in the Ninja app:
- Select Transition Points: Tap between two clips where you want to add a transition.
- Choose Your Transition: Experiment with different transitions like fades, slides, and zooms to see what enhances your video best.
Step 6: Text Overlays
Adding Titles and Captions
Text can reinforce your message. Use the text feature to introduce segments or emphasize key points.
Font Selection
Choose fonts that are both stylish and readable. Avoid overly decorative fonts for longer texts, and use contrasting colors for visibility.
Animating Text
Consider adding entrance and exit animations to your text overlays. This adds a layer of dynamism and keeps viewers engaged.
Step 7: Color Grading
Color grading is crucial for achieving a professional look. Here’s how to do it:
- Access Color Settings: Select a clip and navigate to the color adjustments.
- Adjust Levels: Experiment with brightness, contrast, saturation, and hue to find a consistent look that fits your narrative.
- Apply Filters: Use filters to enhance your footage, but ensure they align with the mood you want to convey.
Step 8: Applying Effects
Using effects effectively can elevate your storytelling:
Slow Motion
Use slow motion to highlight key moments or reactions. This can evoke stronger emotional responses from viewers.
Speed Ramps
Speed ramps, which involve changing the speed within the same clip, can create excitement, especially during action sequences.
Step 9: Audio Management
Audio is just as important as visuals. Here’s how to refine your audio:
Selecting Background Music
Choose background music that complements the tone of your video. Ensure it doesn’t overpower any dialogue or important sounds.
Voiceovers and Sound Effects
If you have a voiceover, record it directly in the app or import it. Adjust the volume levels so that your voice is clear and prominent.
Step 10: Final Review and Export
Reviewing Your Video
Before exporting, watch your video in its entirety. Look for any awkward cuts or audio mismatches that need attention.
Exporting Your Video
When you’re satisfied with your edits, it’s time to export:
- Select the Export Option: Find the export button in the Ninja app.
- Choose Resolution: Select the appropriate resolution for the platform you’ll be using (e.g., 1080p for YouTube).
- Export and Save: Allow the app to process your video and save it to your device.
Advanced Techniques for Aspiring Editors
1. Analyze Successful Videos
Spend time watching Raja Umar’s videos, breaking them down frame by frame. Note specific techniques he uses, such as timing, transitions, and color grading. Understanding these elements can help you incorporate them into your own work.
2. Practice Regularly
Editing is a skill that improves with practice. Set aside time to edit different types of videos, focusing on specific skills like transitions or audio mixing.
3. Seek Feedback
Share your work with friends or fellow creators to get constructive feedback. This can help you identify areas for improvement and refine your style.
Download Apk
4. Stay Updated on Trends
Video editing trends evolve quickly. Follow popular creators on social media to keep your skills and content relevant. Platforms like YouTube and TikTok often showcase the latest editing techniques and trends.
5. Invest in Learning Resources
Consider taking online courses or watching tutorials focused on video editing. Websites like Skillshare, Udemy, or even YouTube offer valuable resources that can enhance your skills.
Conclusion
Raja Umar’s editing style is a blend of creativity, technical skill, and storytelling. By understanding his approach and implementing these techniques using the Ninja app, you can elevate your video editing to new heights. Remember to focus on dynamic transitions, vibrant color grading, and engaging audio to create content that resonates with your audience.
With dedication and practice, you’ll develop a unique editing style that not only reflects your personality but also captivates viewers. Embrace the journey of learning, and soon you’ll be on your way to creating videos that shine just like Raja Umar’s. Happy editing!


Best